This snowflake cutout tutorial is a great project to create paper snowflakes for wintertime, holidays, or New Year's to hang in windows and use as indoor decorations. "Snowflakes" made with a special date are also great for special occasions, birthdays and graduations. They can be glued onto a greeting card, placed in a frame, used in collage, or even as a stencil. What about tracing the unique pattern of your design and using it as a quilting or embroidery pattern? as a fabric or felt applique? The possibilities are really endless!
Please read all instructions carefully before beginning. Caution should be used with very sharp scissors and blades.
What you'll really need (contains amazon.com affiliate links):
- a sharp paper scissor
with a fine point,
- a pen or pencil,
- cutting blade
with refills,
- square origami paper
(light-weight is easiest to cut through layers),
- and a surface to cut on (discarded cardboard is great for this).
Extras that I found handy:
- bone folder
,
- and a stylus tool
(the kind used with clay or embossing).
Snowflake Cutout Tutorial:
Begin with a square piece of origami paper.
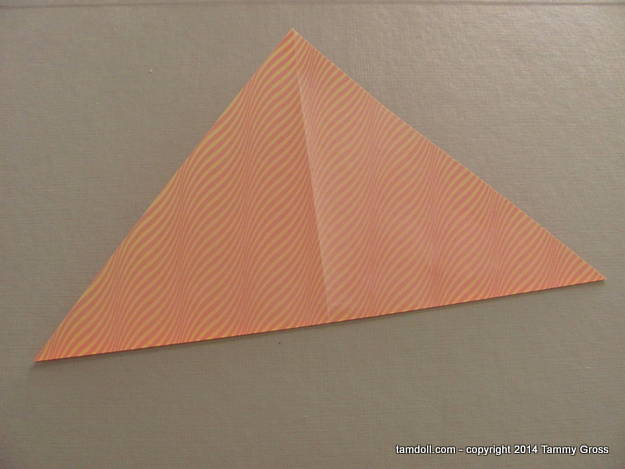
Fold in half, diagonally:
Open:
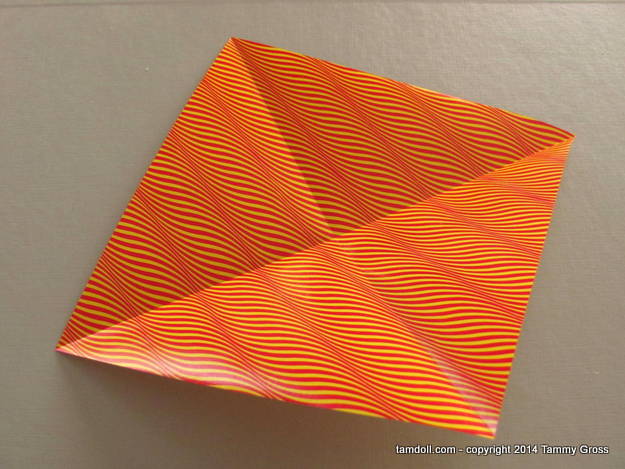
Fold in half, diagonally in the other direction:
This is what it will look like:
Re-fold the last diagonal fold:
I don't show it in use in the photos, but using a bone folder to crease edges helps get them sharp and crisp.
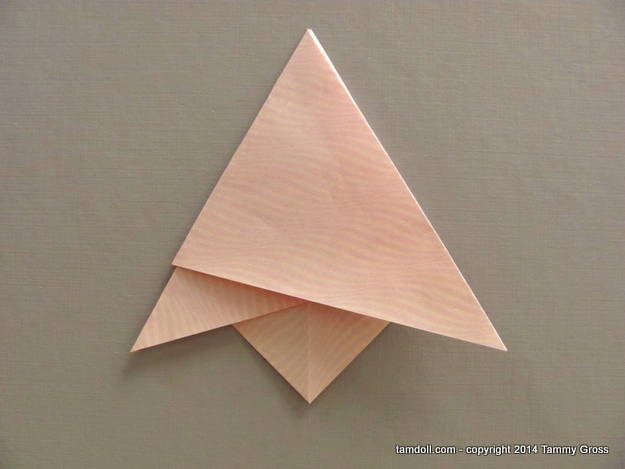
Criss-cross the two points on the long edge until they are evenly folded over each other, then press down to crease the new edges:
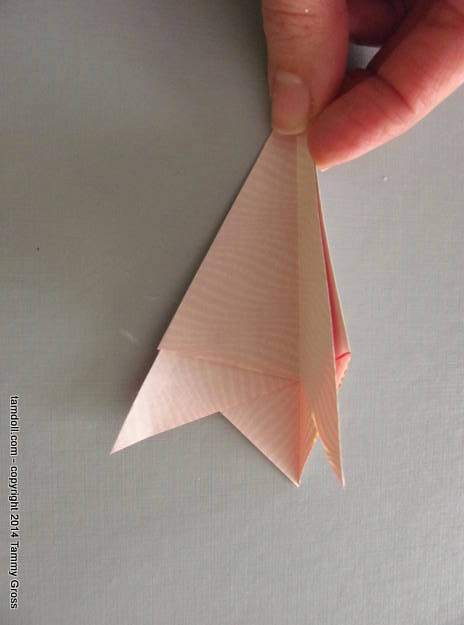
Fold this in half, the long way:
This is what it will look like now:
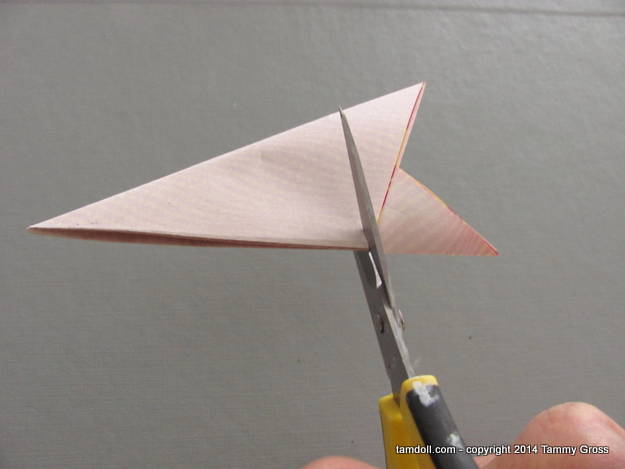
Cut across the bottom edge:
You will be left with a skinny, layered triangle. In the picture below, I've turned the cut edge to the left side of my worktable:
With the long, folded edge to the top, and the point to the right, I sketched out the year I want to cut out:
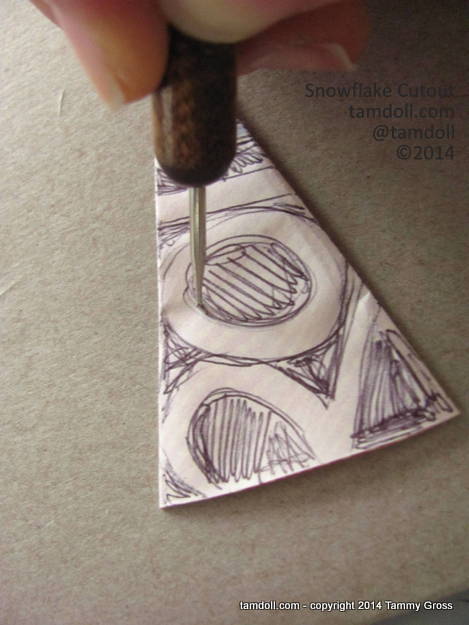
When I'm doing this for myself, I use a light-colored pencil so the writing won't show too much in my finished snowflake. That doesn't work well for demonstration purposes, so use the material that works best for you - a pen or pencil. Below, I've loosely shaded in the areas that will be cut out. The important thing to remember is that you will NOT be cutting between the individual numbers, they have to stay attached, as do the pieces that touch the long folded edge on the top of your triangle.
Out comes my cutting surface - a recycled cereal box. A self-healing mat
Always begin cutting the inside tiny parts first. It's easier to do them first when all the edges are still intact & you have something to hold onto.
When your cuts look ragged, it's time to change your blade.
This blade dispenser has a space to slip your used blades inside for safety.
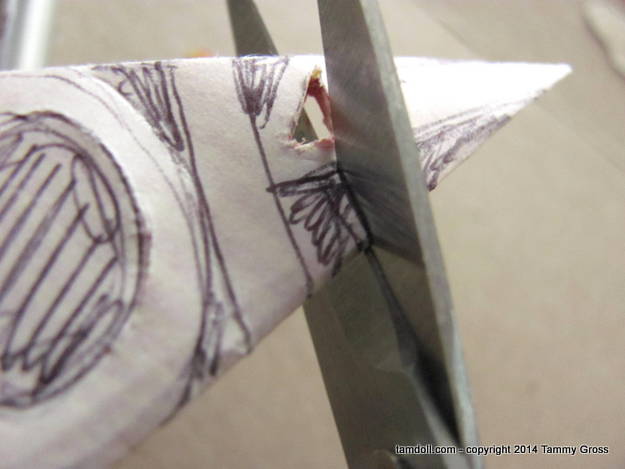
Some inside edges can be cut with scissors & others are easier to cut with a blade.
You may want to use a straight edge/ruler to help you cut the straight lines. A small metal ruler would come in handy (wood or plastic could be cut into and damaged).
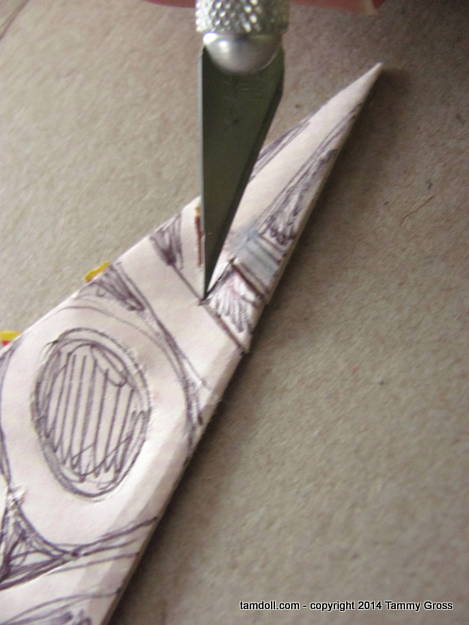
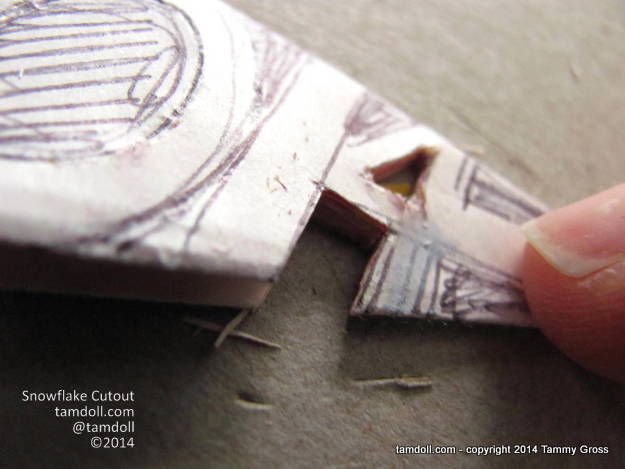
When using a cutting blade - don't press too hard too fast - many gentle strokes will give you nice clean cuts. You can easily tear your paper if you try to pierce all layers at once - instead, go over your outline many times, carefully until all layers have been sliced.
What a difference a sharp blade makes!
If you wanted a smaller hole in your "0", you could simply use a strong hole-punch for the center. As you cut, you may notice that the layers can shift. Hold/pinch them tight as you cut to ensure all layers are lined up.
Making progress on the cuts:
Those interior curves can be tricky and don't look too smooth in my picture. Since the origami paper is pretty thin, it's forgiving when you smooth it out with a fingertip in the finished project.
Almost done:
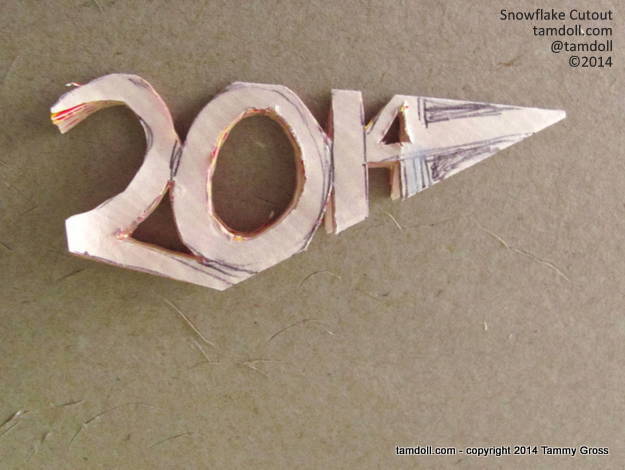
Here, I left the fold after the "4" intact. You could cut it short, leaving an opening in the center of your snowflake (see below for an example).
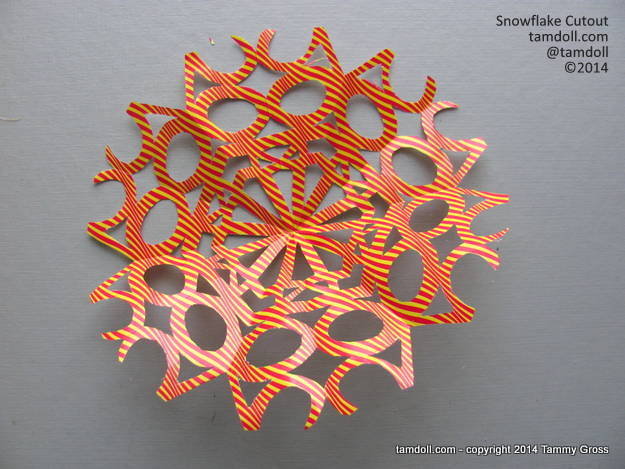
The big reveal begins ... (I think the top of this looks like an angry face with a hat):
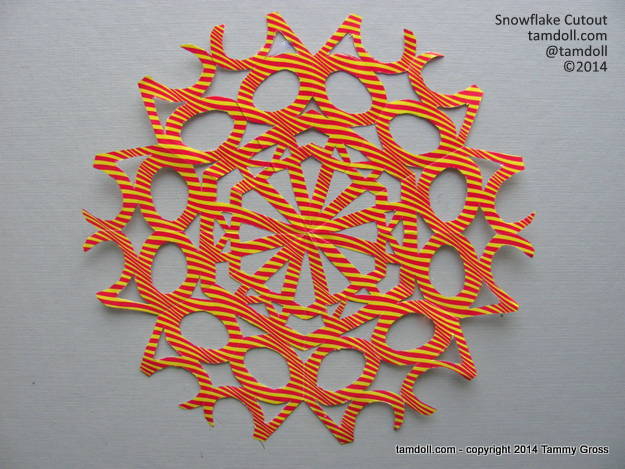
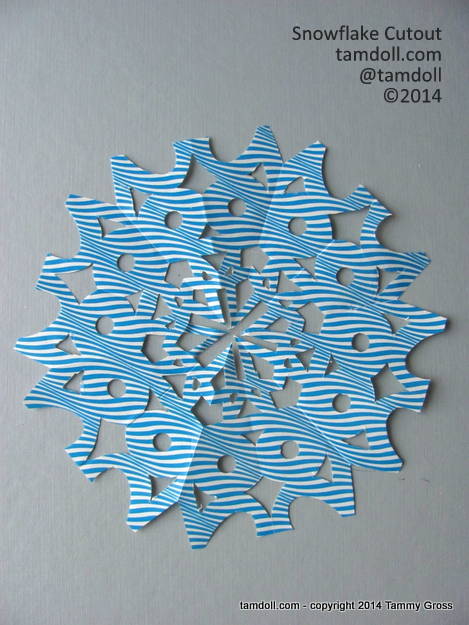
Complete!
For this photo, I placed a light cloth on top and gently, on lowest setting, ironed the snowflake down (do this in a well-ventilated area, this paper gave off a fume, even at lowest heat setting):
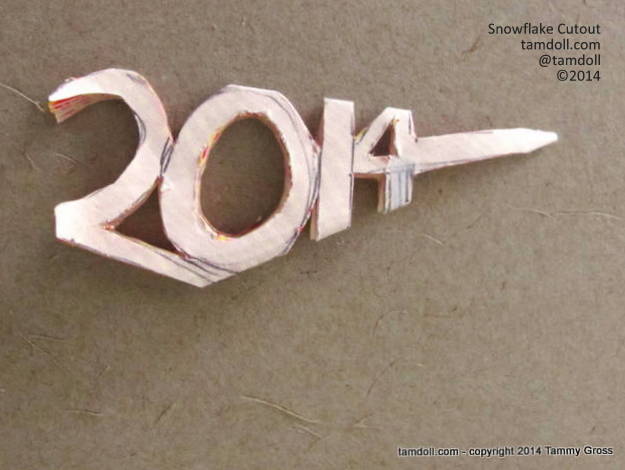
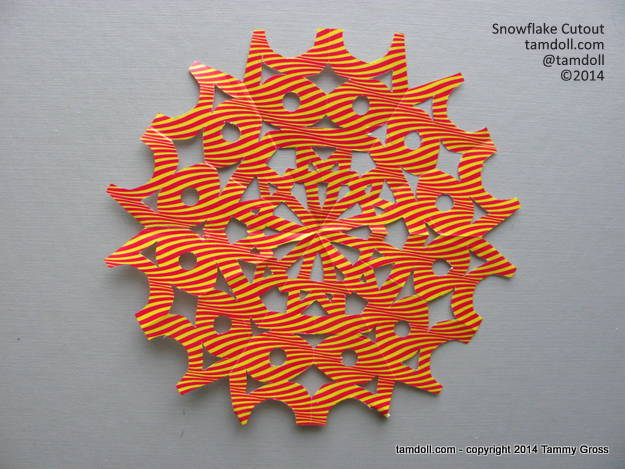
Another version - wish I had changed my blade a lot sooner!
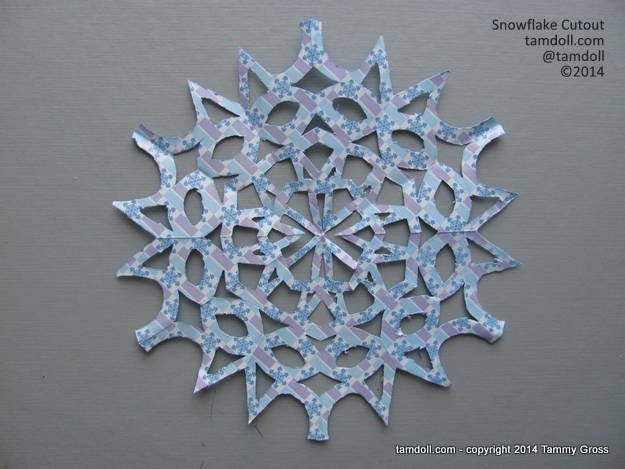
This was an earlier trial. After unfolding, I realized that making the individual numbers skinnier gave a more delicate snowflake. It's cute, and easier to cut this way, especially when using a hole punch for the center of the "0".
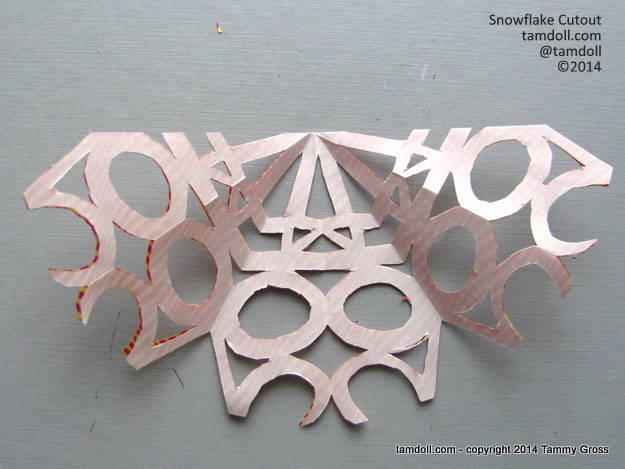
Another chunky snowflake, you can see this one was cut past the "4", giving an open center:
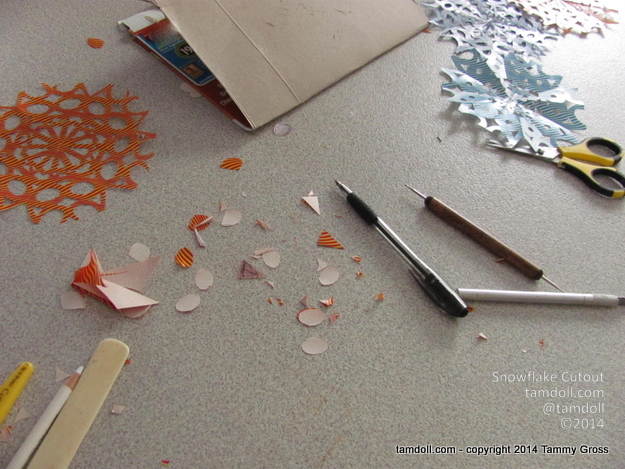
The aftermath on my kitchen counter. Not too bad & easy to clean up! Just a quick sweep into the recycling bin and the tools are quickly packed away until next time.
I hope you make lots of snowflakes and share your creations with the world! You can also join the new "Made with Tamdoll" group on Flickr and post pictures there.
Thanks for reading through the Snowflake Cutout Tutorial! Enjoy creating!
*Disclaimer: The Amazon links provided are affiliate links, I will be compensated if you make any purchase on Amazon.com after clicking through. Thanks for your support.












0 ♥ comments ♥:
Post a Comment
Thanks for stopping by!