Journaling doesn't come easy to me, so I decided to try it small-scale and focused, with a plan to document "how I felt" for one month. I've only been at it for one week, and am so happy with how things are turning out. The small size makes it less stressful - I'm not obligated to fill a whole page or worry about too much detail.
Using a simple image, I started out by hand-carving a rubber stamp. How I did it:
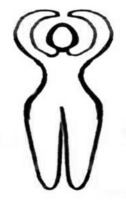
- I drew a simple figure & scanned it into my computer where I manipulated it for symmetry, then scaled for size. (Download a copy of the image for yourself, below.)
- Transferred the image to the rubber by shading the back of it with charcoal pencil. Once I placed this charcoal-side-down on the pink stamp surface, I traced the design and a charcoal image was transferred onto the rubber - super easy.
- Using a #2 carving tool (came with a Speedball Kit), I carved around and inside the image. This was my first try & less than perfect... but I'm working with it. I'd rather embrace the imperfections then waste time trying for "perfection".
- That's it! I'm using ATC cards here - 2.5" x 3.5" to stamp on, with Adirondack Dye Ink in Slate. I didn't mount the stamp - just inked and carefully pressed it to the paper.
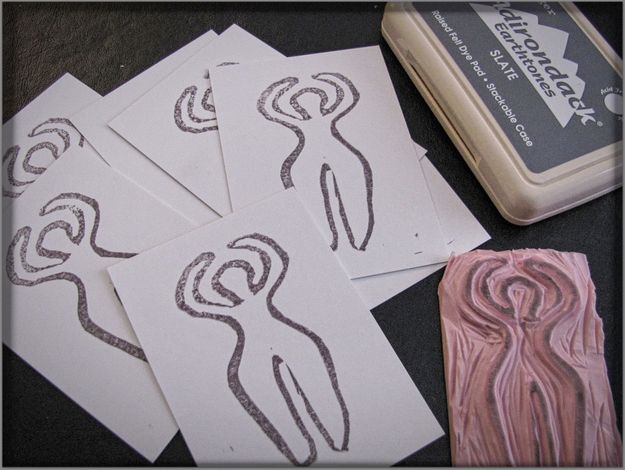
Each evening since I started, I've devoted some time to daily journaling. Some nights I spend more time than others, but mostly I'm just jotting down some notes about the day, or whatever strong feelings remain by then. I've started looking forward to it each night, this little recap of my day.
For now, I'm leaving the backs blank - I'm not sure whether I'll display these on a flat surface when I'm done, or put them into a book or folder. Some nights I'm already thinking of future cards - doing some collage, or adding more color. ... who knows how this will evolve.
This project was definitely inspired by my membership in
The Artstronauts Club; the journal pages I see there each week are something I'd love to devote time to, but haven't been able to, yet.
Here's the image I started with... an image file is attached - you can click the figure to get your own copy with different sizes on one 8.5 x 11" page.

Stylized Female Image-Sizes by
Tammy Gross (Tamdoll) is licensed under a
Creative Commons Attribution-ShareAlike 4.0 International License.
I'd love to see what you create with this image! Please share by leaving a comment.




.jpg)

